14 Acrylic Painting Techniques That Beginners Should Try
4.7 (72) · € 11.50 · En stock

Start expanding your creativity with these 14 acrylic painting techniques for beginners.
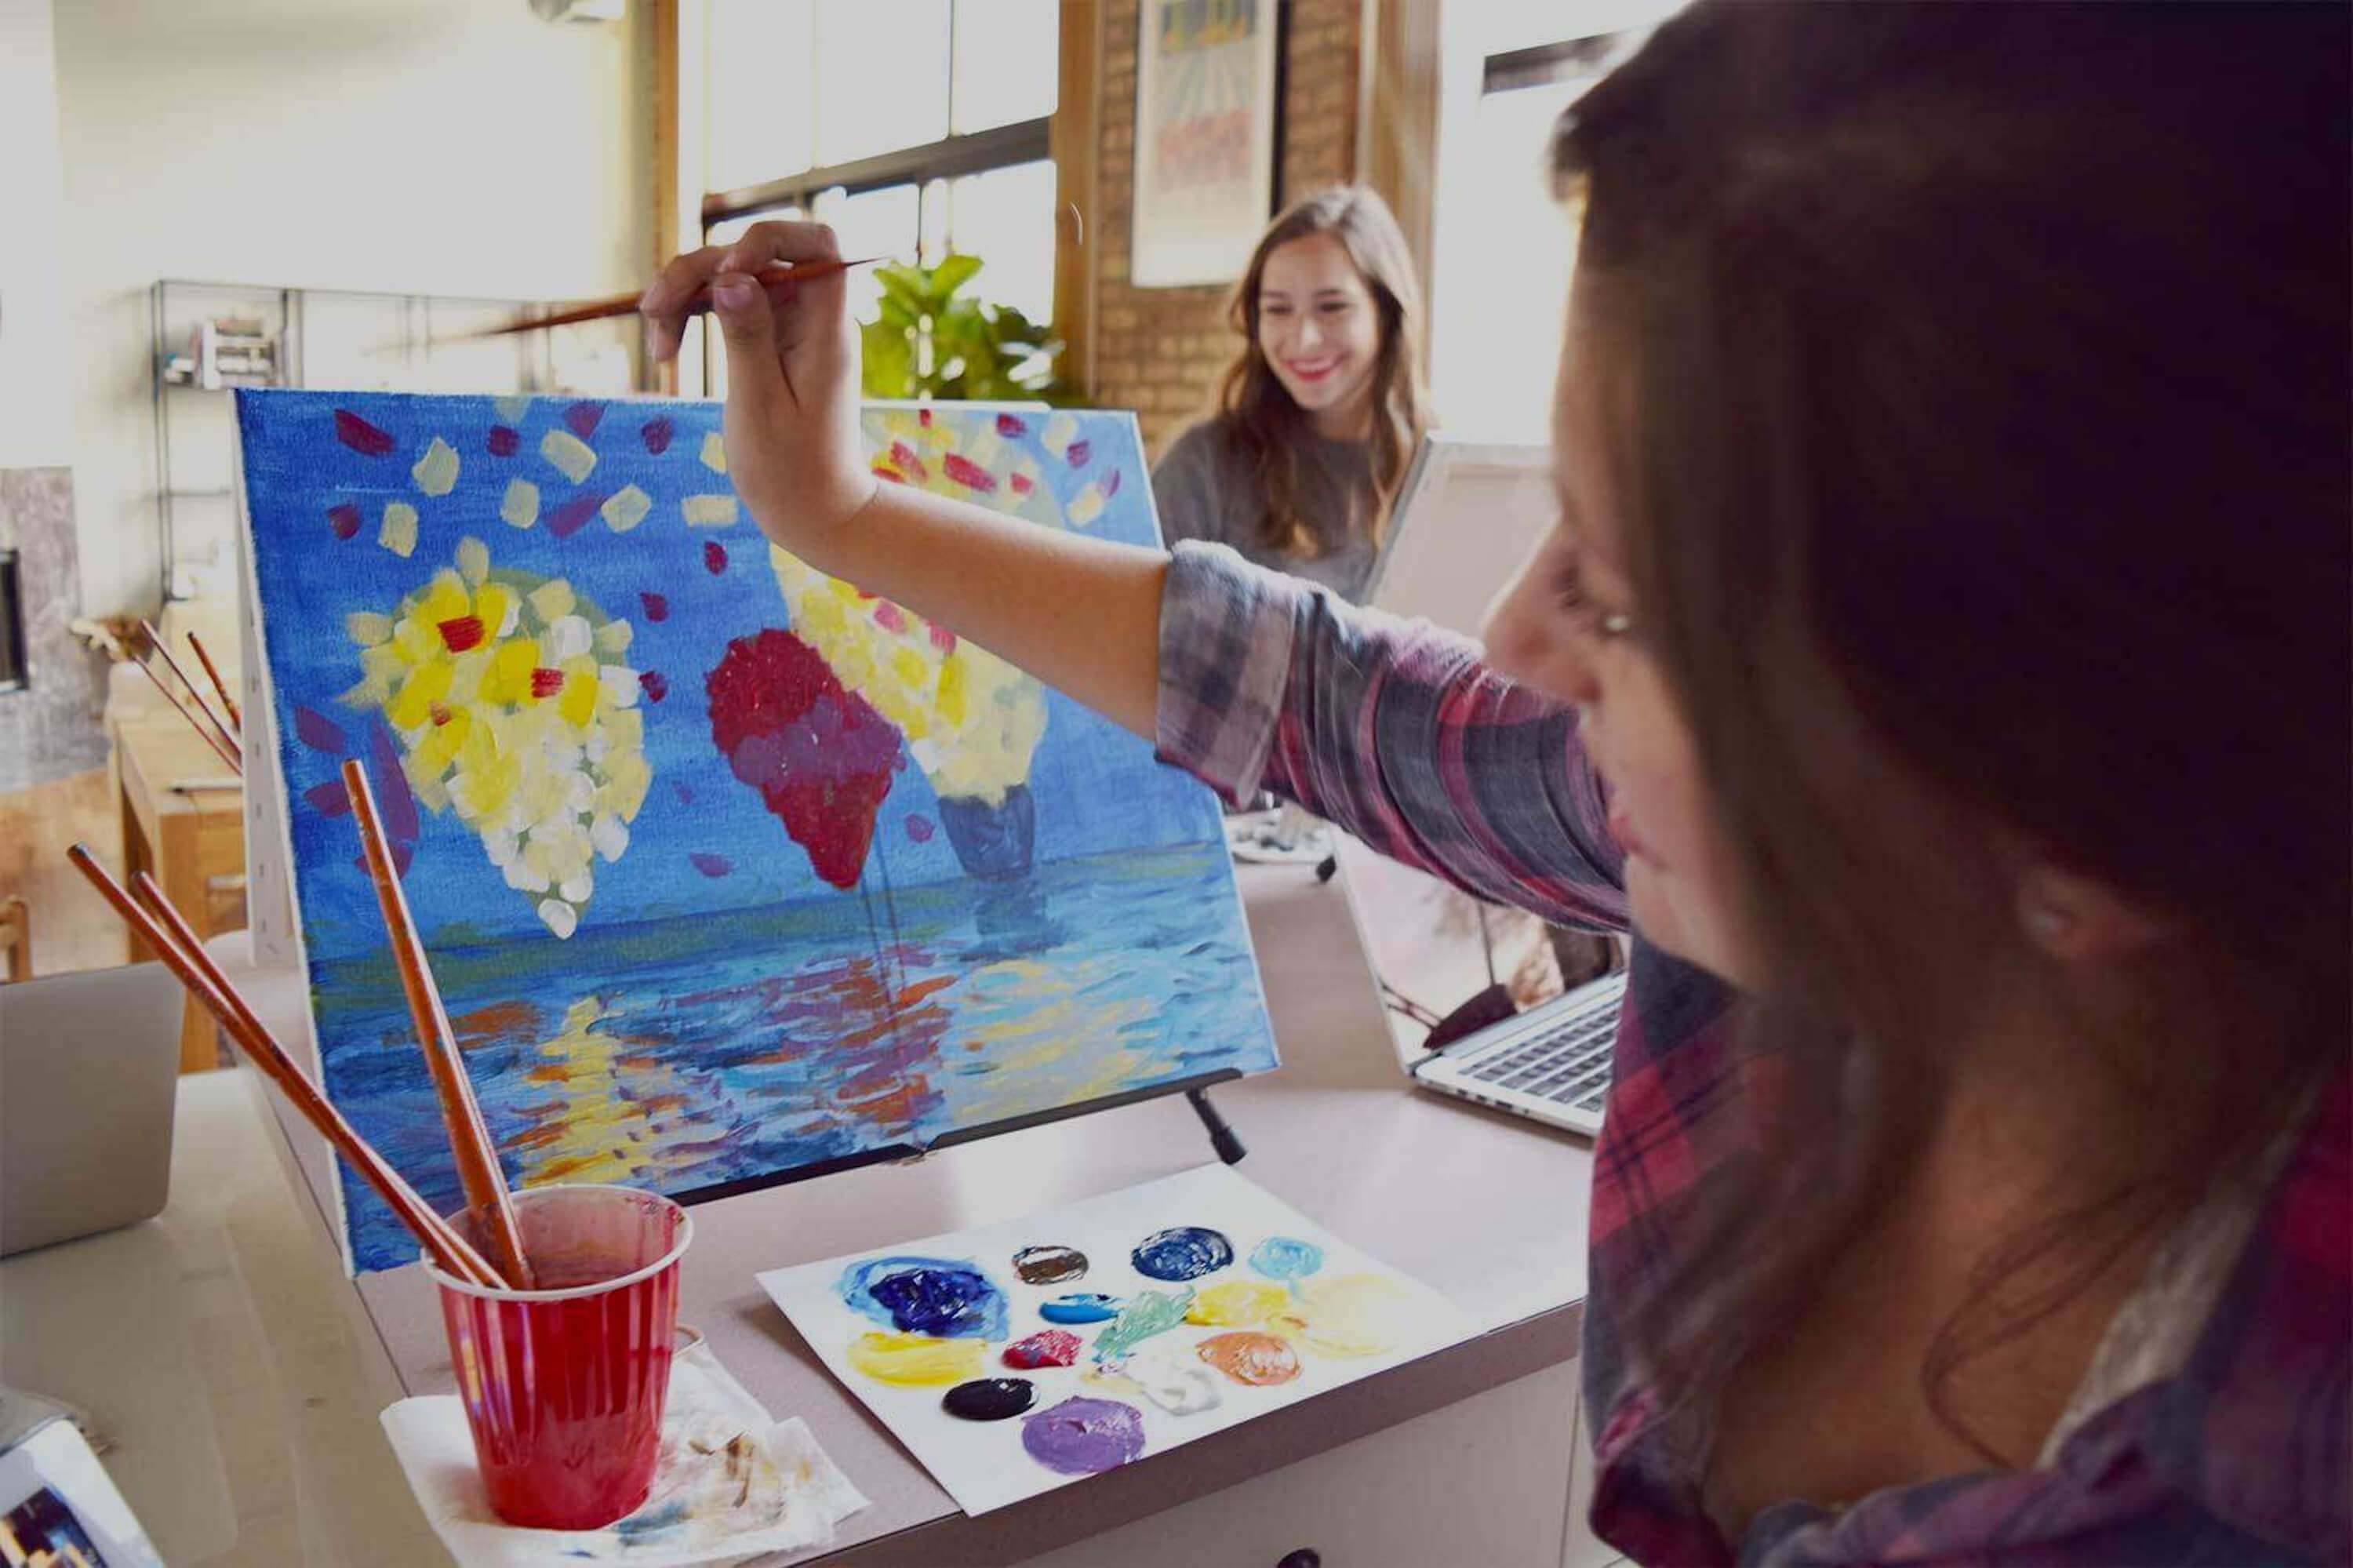
Painting as a group is a blast and on your own it’s an inspiring pastime. There are so many different ways to use paint! In this blog, we’ll show you how to create some really fun and unique images with these 14 techniques every beginner can try. Watch a couple of techniques for free in our Starry Night video tutorial below:
14 Acrylic Painting Techniques Every Beginner Can Perfect
If you’re ready to try something new for your next paint party or spice up your canvas paintings, you’re in the right place. These basic techniques are super simple and many can be done using common household supplies.
1) Use More Water
Add water to your acrylic paint to make it thinner, drying like a matte-finish watercolor. You can use a thin layer of paint to create shadows and add interesting textures to your painting.
Keep in mind that this technique works best on very thick and absorbent paper (like watercolor paper). If you use it on a pre-gessoed canvas or water-resistant canvas, the thin paint may drip and pool instead of absorbing. You can also use thinner paint products and mediums like gouache or Liquitex to experiment with layering.
2) Dab With Stiff Bristles or Paper Towel
Dip a stiff-bristle paintbrush in thick paint and dab it on the canvas to create a sporadic, randomized texture that’s different from typical brushstrokes.
As you start dabbing the canvas lightly, you'll notice just the tips of the bristles hit, creating a series of organic dots. The more you tap the brush in one area, the most solid the area will become. If you add a little more pressure, dabbing creates a much larger shape with fewer gaps and contrast.
You could create a sandy beach with a harder series of dabs with a round brush. Try using two tones of the same color (like greens for trees, tans for sand or white/blue for clouds) to create some color depth. Dab a paper towel, rag, or sponge to create different effects.
3) Try Stippling or Repetitive Dabbing
Stippling is when you paint tiny dots, usually in a variety of shades or colors, to create an interesting texture that your eye reads as a solid shape from a distance. It’s popular with abstract paintings and can also be used to give a realistic finish to subjects in your painting (more on that in a moment).
To try this technique, you just dip a long, pointy brush into a large dollop of paint and poke the canvas to create a tiny dot. Pushing harder, or using a wider, circular brush, will create larger dots.
Some artists use these dots to show that objects are shining, sparkling, or shimmering. You could use this technique to add highlights to things like waves, waxy fruit, and glass. Add depth to your starry night sky by making a variety of dot sizes in a few different colors, like yellow, gray, light blue, and white.
4) Experiment With Dripping and Acrylic Pouring
Want to make it look like it’s raining or show that something’s melting in your painting? Try spraying wet paint layers with water to create splashes and drips and help the paint run together. Or, add clear acrylic medium to your paint so that the color drips and runs.
You can also pour paint from different heights to make psychedelic backgrounds or add an eye-catching finish to your abstract art, depending on your color choices and pouring technique. Create puddles and pools of color resulting in swirls, waves, splashes, marble-like finishes, and bubbly textures.
Need a little inspiration? The Scream would be a great painting to try this technique out.
5) Lift Sections of Paint
“Lifting” is just another way to say “removing” or “erasing” paint from your canvas. Why would you want to do that? Because this acrylic painting technique lets you easily create soft backgrounds, cloud and water effects, the illusion of fabric folds, textured patches, and more.
Experiment with a wet or dry paper towel, rag, or sponge to lift the still-wet paint from your canvas. This technique will take some practice, but it’s great for beginner painters to loosen up and have fun with the experience!
6) Use Painter’s Tape for Clean Lines and Shapes
Painter’s tape is the perfect tool to keep paint off specific areas and create clean, sharp lines and shapes (without having a perfectly steady hand). Try this technique to paint buildings, bridges, stripes, geometric patterns, and more.
Here’s an idea to get creative: Tape off a simple shape for your subject (like a vase, building, animal, or a person’s silhouette), and create a vibrant gradient or repeating pattern that goes right through your subject without having to paint around the area.
Remove the tape and you now have an unpainted area, dry and ready to be painted as the subject you painted. Go back in and paint the blank area or leave it white for an art piece that really pops.
7) Splatter Your Acrylic Paints
Ready to have some fun? Load a brush with paint and fling it at the canvas. The splattering effect lets you create natural-looking splashes and explosions, or express movement. It can also be used to make texture for starry skies, sand and dirt, and more.
Some artists thin down the paint before pouring or splattering it onto the canvas. You can use a sponge or rag and see how the spray changes. If you don’t mind a little dripping, keep your canvas upright while you try this technique. Otherwise, lay it down flat.
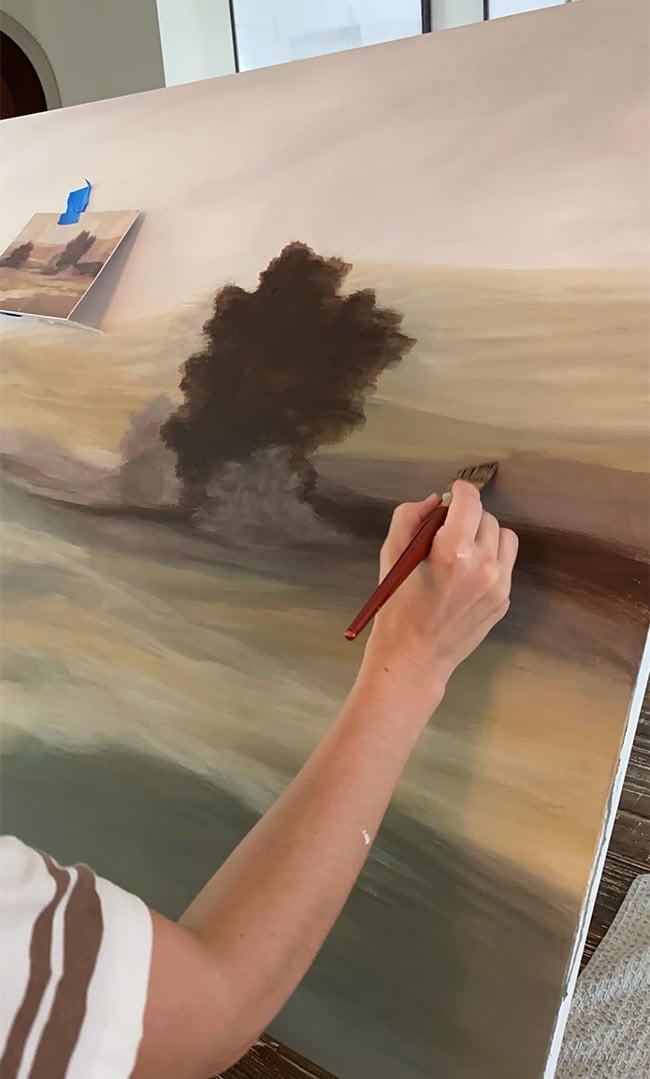
8) Try Dry Brushing
Dry brushing is basically what it sounds like: You add paint to a dry canvas with a dry brush. It makes it easier to add distinctive shapes or layers because the paint won't blend into all the layers you already have underneath.
This light, dry-brushed layer is ideal for painting plants, dirt, sand, rocks and other natural objects, as well rough-textured objects like jeans, TV static, and more — anything that looks good with a little bit of grit.
For more tips on acrylic paints, brushes, supplies, and techniques, check out our beginner's guide to using acrylic paints.
9) Switch to Your Palette Knife
Palette knives, a great painter’s tool for mixing colors, can also be used to get creative on the canvas. Use the flat side of the knife to create smooth areas or thick ridges, waves, and dollops of paint. With just a touch of paint on the edge of the knife, you can even create lines that are thinner and straighter than a brush could achieve.
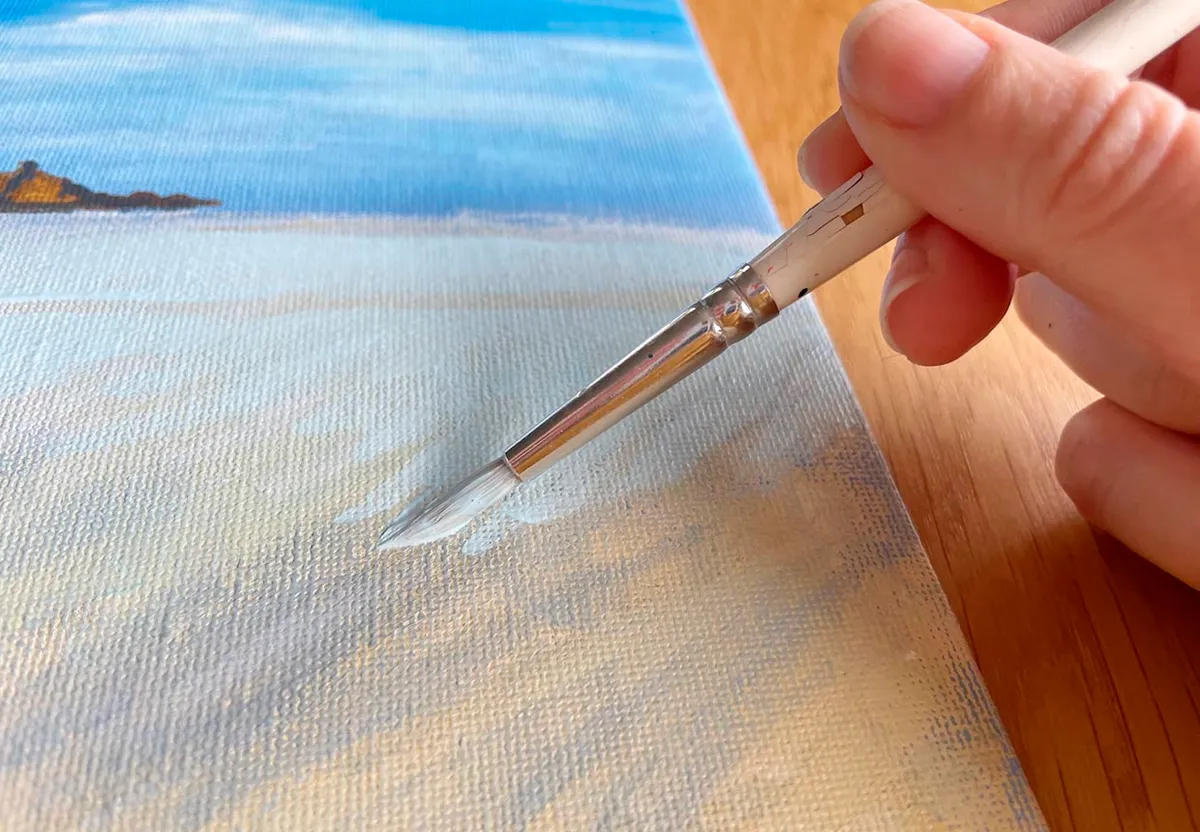
10) Add Details With a Fine, Wet Brush
If you want to add small, precise details to your point, you can’t go wrong with a fine, wet brush. While the bristles on a dry brush tend to spread out and create larger lines, the bristles on a wet brush hold together, creating a sharp point.
It’s easy to create a smooth outline or paint sharp teeth, like this Great White Shark painting. And the lighter your touch on the canvas, the thinner your lines and dots.
11) Use Lighter Layers of Paint To Highlight Dark Sections
Here’s another acrylic painting technique for beginners that will make you look like a pro. Within any dark area, use lighter colors to create highlights, depth, and texture.
Try adding layers of paint to the shadows and dark parts of your painting, such as dark storm clouds, a dog’s fur, or a wooden table. You should mix slightly lighter versions of your main dark color. Only use white in the very brightest highlights where you want your viewer’s gaze to go first.
12) Go Deeper with Layering
Acrylic paint dries quickly, so you can easily add thin layers on top of dry background layers when you want to add more detail to any parts of a painting. Professional artists often use thin layers of paint to create underpaintings, which are essentially sketches of the artwork you’re going to paint.
These layers also add depth and color to your finish painting, like deeper shadows or more pronounced highlights. Try a warm underpainting with a common acrylic paint color like burnt sienna (brown) or a cool underpainting with ultramarine blue (blue).
13) Mix Colors and Make a Color Mixing Chart To Remember Your Combinations
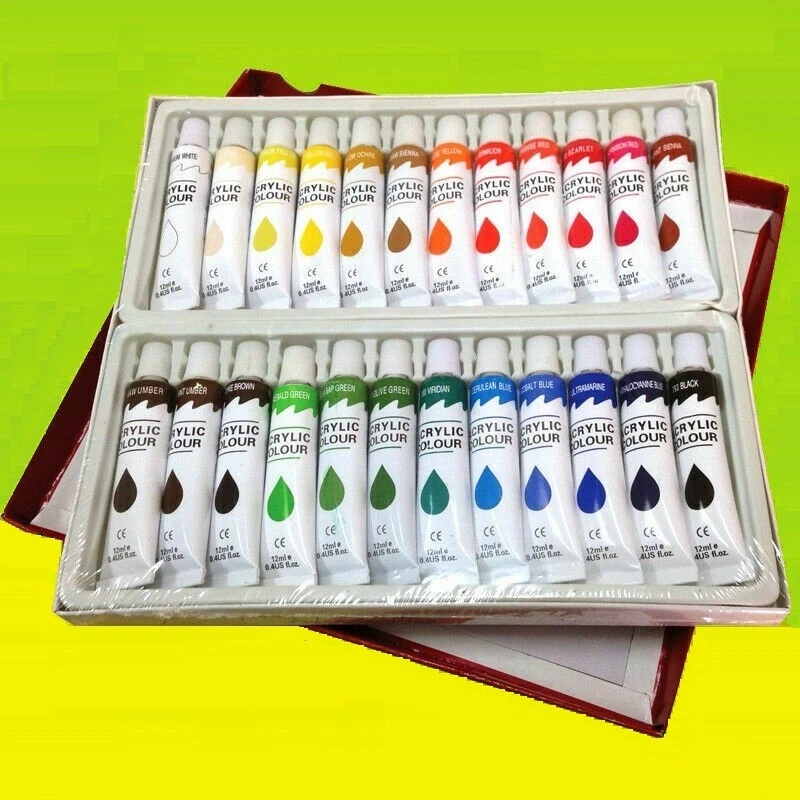
Primary colors (red, yellow and blue) along with white and black combine to make almost any other color. But with just these five colors, you can create hundreds of hues that you can’t buy off the shelf, allowing you to create a completely unique painting.
As you mix up your paints and discover new combinations, you don’t want to forget your discoveries. Make your own personal color mixing chart to remember the different hues you made and recreate them faster next time.
Grab a pencil or pen, get a piece of paper, and draw a chart with 1 x 1 inch squares. Write the names of your colors along the top and left side, and then in each square, mix together the two colors.
14) Use Different Tones of the Same Color
Here’s a final technique that beginners can perfect. You don’t have to use lots of different colors to create an eye-catching painting. Instead, try using different shades, tints, and tones of a handful of colors.
This Pop Art Dog painting is a great example. The variety of blues, yellows, reds, and whites create movement and energy throughout the painting.
Try These Acrylic Painting Techniques With Your Next Painting to Gogh Tutorial
Now that you’ve learned these simple techniques, what will you paint next?
Painting to Gogh’s step-by-step tutorials make it easy for you to start expressing yourself, experimenting with new methods, and building up your paint skills.
Our beginner-friendly painting tutorials are delivered right to your doorstep with artist-led video instructions to help you master all the different techniques we’ve covered. Simply choose a painting and order your kit to get started.
14 Acrylic Painting Techniques That Beginners Should Try

Acrylic Techniques Everything a Beginner Needs to Know and nobody tells you #6
14 Acrylic Painting Techniques That Beginners Should Try

The Beginners Series / Lesson 1 / Acrylic Painting Materials for Beginners

10 Acrylic Painting Techniques for Beginners
How To: Beginner Landscape Acrylic Painting - Jenna Sue Design

Paint Beautiful Acrylic Paintings with this Library of Step-By-Step Tutorials

14 Acrylic Painting Techniques Used by the Masters - Invaluable

Step-by-Step Acrylic Painting for Beginners - FeltMagnet
27 acrylic painting techniques to transform your style - Gathered